|
The MIMA Display The MIMA display, is as low a profile as possible, places the mode leds at both sides and one in the middle so that the mode is easier to recognize when it is dark. the display board is in the middle of the ribbon cable on its way to the controller.
The wires routing is completely hidden.
|
MIMA display
| 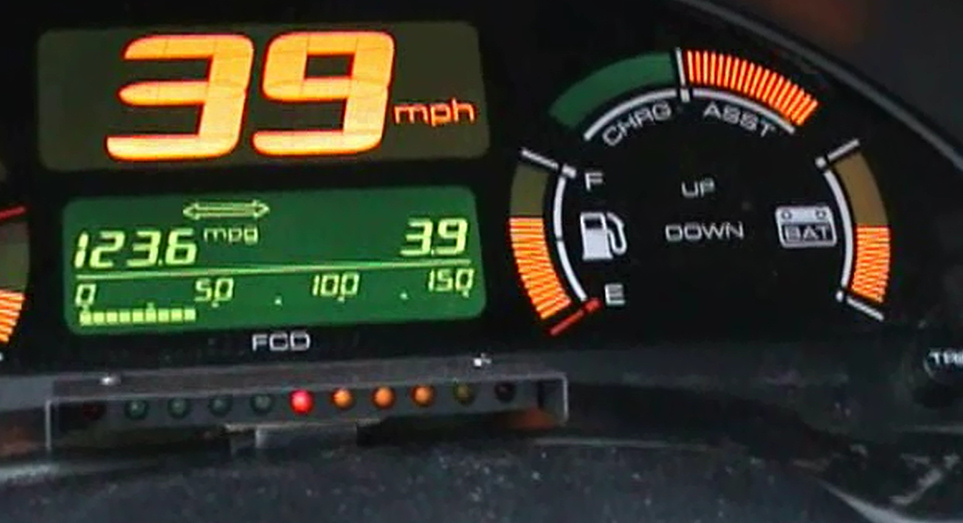 | | | New MIMA display in action |
The finished low profile discrete display has become the display of choice for most new installs. The PC board is separated from the display, so the display is light and easy to mount. To stabilize the mount and adjust the angle of the display, a small amount of epoxy putty will be used between the display and the dash bezel. |
MIMA Insight System: |
|

